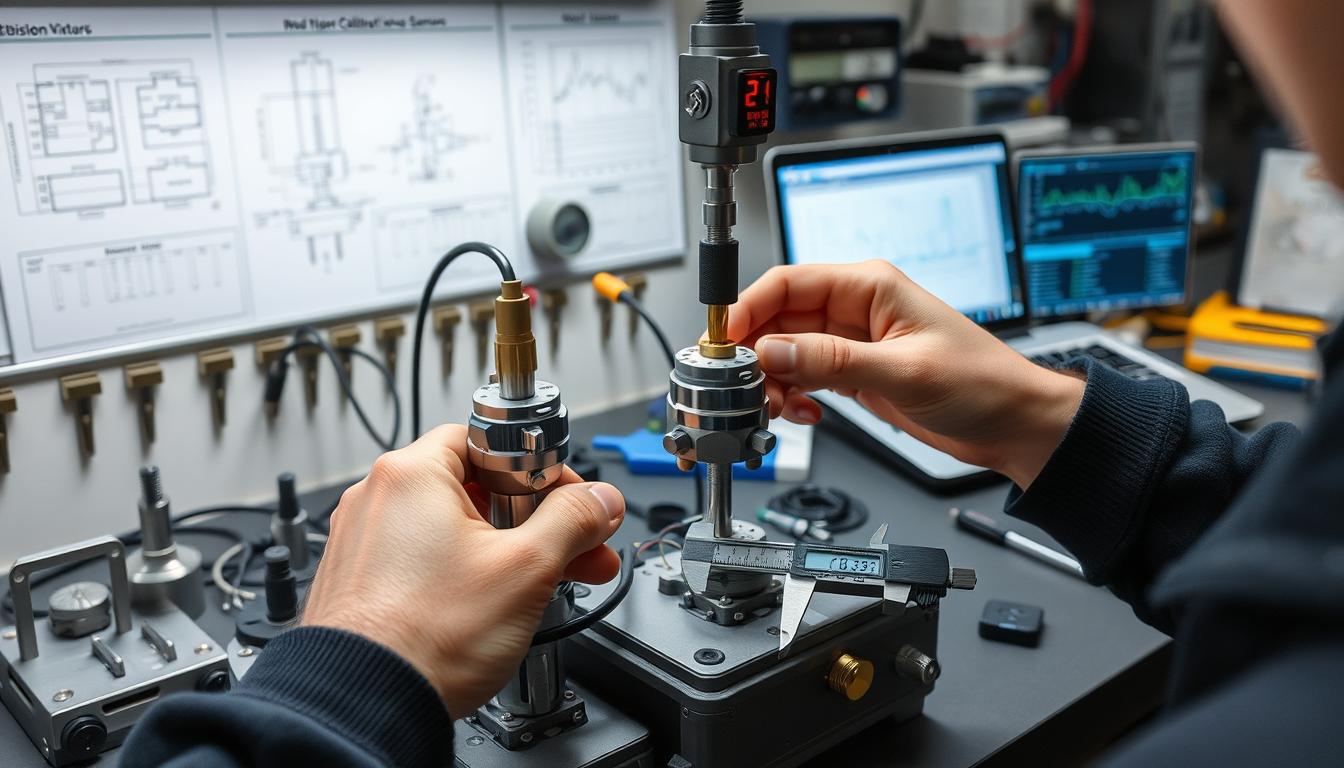
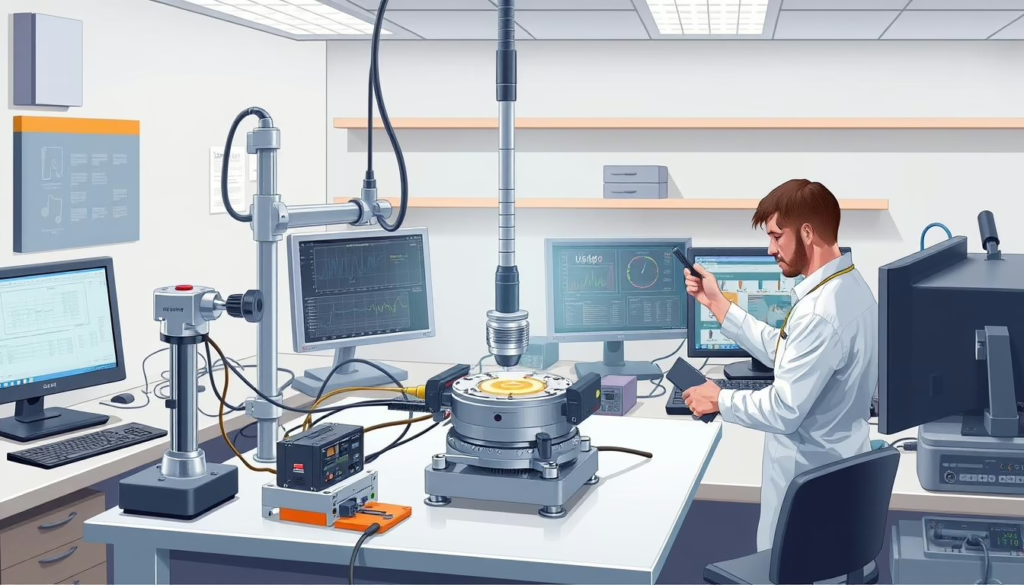
How to maintain and calibrate 2 axis force sensors. They need to give correct readings and work at their best. Sensors from XJCSENSOR are key in fields like automation and testing materials. Taking good care of these sensors makes them last longer and stay accurate. This guide will show you the steps for proper sensor care every day, every month, and when they need extra attention. You’ll learn how to keep your 2 axis force sensors in top shape.

Next, we’ll cover how to look after these advanced sensors. You’ll see how to calibrate 2 axis sensors right. Our goal is to share knowledge that helps you fix problems with your force sensors. We want your sensors to give you true results no matter what. Keep reading for advice on how to handle, maintain, and calibrate your sensors.
Key Takeaways
- Understanding the importance of maintaining 2 axis force sensors.
- Daily and monthly maintenance routines for optimal performance.
- Preparing effectively for the calibration process.
- Detailed steps for successful sensor calibration.
- Troubleshooting common calibration issues to ensure accuracy.
Introduction to 2 Axis Force Sensors
2 axis force sensors are key in today’s tech world. They measure forces in two directions at once. Industries like manufacturing, robotics, and aerospace rely on them for precise force measurement. Knowing how to calibrate these sensors can boost their performance and reliability.
These sensors play a vital role by monitoring force magnitude and direction. This is crucial for achieving accuracy in robotic automation and precision manufacturing.
Calibrating these sensors is a must. It keeps their readings accurate over time. Doing regular calibrations can spot and correct any errors, ensuring reliable data.
XJCSENSOR is a top provider of quality force sensors. They’re known for precision and reliability, making them a go-to for many industries.
Let’s look at the basics of 2 axis force sensors:
- Force Measurement: Measures forces along two perpendicular axes.
- Applications: Widely used in manufacturing, robotics, and aerospace.
- Calibration: Ensures accuracy and reliability in force readings.
- Suppliers: XJCSENSOR provides top-notch force sensors ensuring high precision.
Focus on force sensor calibration and follow best practices. This ensures the sensors work well for a long time. It helps them deliver precise and reliable data. This, in turn, improves the systems they’re used in.
| Aspects | Details |
|---|---|
| Measurement | Forces along two perpendicular axes |
| Applications | Manufacturing, robotics, aerospace |
| Supplier | XJCSENSOR |
| Calibration | Ensures accuracy and reliability |
In summary, 2 axis force sensors are crucial in modern tech. Regular calibration is key to their accuracy. By properly calibrating these sensors, industries can boost precision and reliability in their work.
Importance of Regular Maintenance
Having a steady maintenance plan is key for 2 axis force sensors to work well and last long. Regular checks prevent early damage and keep readings accurate and processes smooth.
Benefits of Regular Maintenance
A solid sensor maintenance guide cuts down on downtime and makes equipment last longer. Following force sensor calibration protocols lets operators fix problems early. This saves money on big repairs or having to get new parts.
XJCSENSOR suggests regular checks and calibrations. This includes looking for any damage, keeping sensors clean, and sticking to calibration plans. These steps help make force sensors more reliable and perform better.
Regular maintenance is not just about saving money. It’s also about keeping a high level of safety and accuracy in uses like robotic arms, checking quality, and automating factories. A good maintenance plan is essential for doing things well.
Daily Maintenance Practices
Keeping our 2 axis force sensors in top shape means paying attention every day. We must carry out regular cleaning and check for damage early. This keeps the sensors working well for a long time.
Cleaning Procedures
Cleaning the sensors each day is key to their efficiency. We use gentle materials for this. Here’s what to do:
- Power off the sensor and disconnect it from any power source.
- Gently wipe the sensor surface with a lint-free cloth dampened with isopropyl alcohol.
- Make sure there’s no residue left, especially near connectors and joints.
- Let the sensor dry completely before you reconnect and turn it on again.
Daily cleaning keeps harmful contaminants from messing with sensor calibration.
Inspecting for Physical Damage
It’s important to check the sensors for damage every day. This ensures they stay reliable. Look for these things:
- Surface Scratches: Look for any scratches or dents. They could change measurement results.
- Connector Integrity: Check connectors carefully for any signs of damage. This helps keep the connections stable.
- Mounting Points: Make sure the mounting points are strong and not damaged.
By inspecting the sensors daily, we can find problems early. Then we can fix them or calibrate. This keeps our sensors accurate and dependable.
Monthly Maintenance Routines
Shifting to monthly routines means our maintenance must be thorough. It ensures our force sensors work their best. This includes checking both hardware and software deeply.
- Recalibration: It’s vital to recalibrate regularly for accurate results. Always follow calibration best practices for force sensors.
- Software Updates: Look out for new firmware and software updates. These updates improve your sensor’s performance and fix problems.
- Mechanical Inspections: Do detailed checks for wear and tear. Focus on areas like mounting points and connectors.
Having a set schedule helps manage these tasks well. Following guidelines from XJCSENSOR sets a strong base for your maintenance routine.
| Task | Description | Frequency |
|---|---|---|
| Recalibration | Using Calibration Best Practices for Force Sensors | Monthly |
| Software Updates | Install Latest Firmware and Software | Monthly |
| Mechanical Inspections | Examine Mounting Points and Connectors | Monthly |
Sticking to this maintenance schedule ensures our force sensors last long. This way, they stay efficient and reliable in the long run.
Preparing for Calibration
Before calibrating 2 axis force sensors, we need to prepare well. This ensures our calibration is smooth, accurate, and effective. We’ll look at the tools and setup needed for the best results.
Required Tools and Equipment
For accurate calibration, we need certain tools and equipment. They include:
- Calibration Weights: Certified weights to ensure accuracy
- Multimeter: For measuring electrical parameters
- Data Acquisition System: To record and analyze sensor outputs
- Cleaning Supplies: Microfiber cloth, isopropyl alcohol for cleaning sensors
- Mechanical Fixtures: Necessary for holding the force sensor securely
Setting Up the Work Environment
The work environment is key to successful calibration. To set it up correctly, follow these steps:
- Temperature Control: Keep room temperature stable as the manufacturer suggests.
- Vibration-Free Surface: Use an anti-vibration platform to avoid disturbances.
- Proper Lighting: Make sure the area is well-lit for the process.
- Cleanliness: Keep the workspace clean to prevent sensor contamination.
- Organization: Organize all tools and equipment for efficiency.
Following these steps ensures precise calibration of 2 axis force sensors. Proper force sensor calibration protocols improve accuracy and sensor lifespan. For more information on calibration and guidelines, check industry standards and manufacturer instructions.
How to Maintain and Calibrate 2 Axis Force Sensors
It’s crucial to keep and calibrate 2 axis force sensors right. This ensures their readings are correct, and they work as they should. Below, we’re going to go over the calibration best practices for force sensors. We’ll also cover important checks after calibration to verify the process worked.
Calibration Steps
To calibrate, you need to check the sensor’s accuracy against a known standard. Here’s what to do:
- Initial Inspection: Check the sensor for damage or wear before you start.
- Zero Calibration: The sensor should show zero when there’s no force. This is vital for accurate results.
- Load Application: Put known loads on the sensor one by one. These loads should come from reliable standards for accuracy.
- Record and Compare: Write down what the sensor says at each step. Then, see how it stacks up against the loads you applied.
- Adjustments: If the numbers don’t match, tweak the sensor. This will make it match the known standards.
- Repeat Verification: After adjusting, test and record again. This makes sure everything is accurate.
Post-Calibration Checks
After you calibrate the force sensor, you should do some checks. These ensure the sensor stays right and reliable. Consider these checks:
- Stability Check: Make sure the calibration holds over time without changing.
- Environmental Response: See if the sensor works the same in different settings.
- Repeatability: Check that the sensor gives the same results with the same loads.
- Documentation: Keep a record of the calibration steps and changes. This is good for keeping up with standards.
By using these calibration best practices for force sensors, your 2 axis force sensors will give true and dependable readings. This matters a lot for keeping measurements accurate in all sorts of uses. Remember, taking care of your sensors and calibrating them right means they’ll last longer and perform better.
Force Sensor Calibration Methods
Calibrating force sensors is key to getting precise and dependable measurements. We examine two main methods: static and dynamic calibration. Knowing these methods helps pick the right one for our sensor needs.
Static Calibration
Static calibration is done by putting known weights on the sensor when it’s not moving. It’s best for loads that stay the same over time. We slowly add known forces to the sensor and track what happens.
The data we collect creates a calibration curve. This curve shows how the sensor reacts to different forces. Because it’s straightforward and accurate, static calibration is perfect for steady measurements.
Dynamic Calibration
Dynamic calibration is for sensors dealing with fast-changing loads. It applies forces that change over time and records how the sensor responds. It’s critical for things like crash tests in cars, where forces shift quickly.
This method needs advanced tools and software to match force application with data recording. Even though it’s more complex, dynamic calibration tells us how the sensor acts in real-life situations.
Common Calibration Issues and Troubleshooting
When you begin the 2 axis sensor calibration steps, you might run into some problems. These can interrupt your work. We’ll look at these usual issues and give you advice on how to fix them.
A common issue is force readings that don’t match up, often due to the surroundings or worn-out equipment. To fix this, make sure the area where you work is consistent and check your sensors often. If the sensors are not set up correctly, it can also lead to wrong readings. So, it’s crucial to follow the 2 axis sensor calibration steps exactly as they are taught.
Let’s explore some specific ways to solve these troubles:
- Environmental Interference: Make sure there’s no vibration or electromagnetic fields around your calibration space. These can mess with your sensor’s data.
- Incorrect Load Application: Be sure you’re applying the load right and consistently when calibrating. This prevents incorrect force readings.
- Wear and Tear: Have a routine check for any damage or wear on your sensors. Replace any parts that aren’t up to standard.
- Software Calibration Errors: Keep your calibration software up to date and properly set up. This helps avoid wrong calculations.
To sum up, these are the issues you might face and how you can fix them:
| Issue | Potential Cause | Solution |
|---|---|---|
| Inconsistent Readings | Environmental Factors | Stabilize Work Environment |
| Erroneous Data | Improper Setup | Follow Calibration Steps Meticulously |
| Signal Drift | Wear and Tear | Regular Sensor Inspection |
| Calibration Failures | Software Issues | Update and Configure Software |
Using these tips for fixing force sensor problems will make your force readings more accurate and reliable. By listening to XJCSENSOR’s advice, we can solve and avoid these common calibration issues.
Conclusion
Maintaining and calibrating 2 axis force sensors is key for precision and reliability in equipment. This guide covers daily tasks like cleaning and checking for damage. These steps help keep the sensor working well.
Setting up a good work area and doing post-calibration checks form part of effective sensor calibration. Using both static and dynamic methods, we get accurate and reliable readings. This careful process improves function and prevents issues that could stop operations.
We urge users to follow our calibration protocols and seek support from XJCSENSOR when needed. Doing this helps ensure our sensors always perform at their best. Accurate calibration is vital for reliable measurements, helping your projects succeed and run smoothly.


